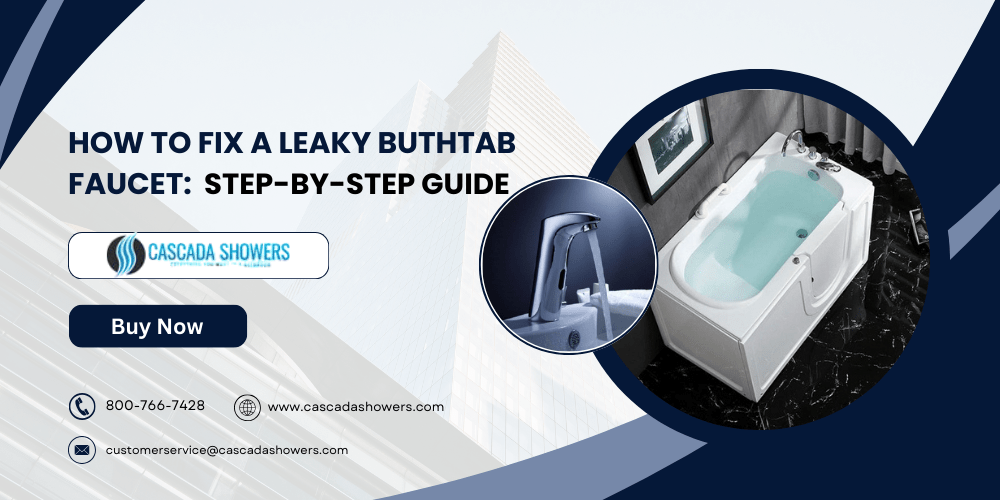
A dripping bathtub faucet is not only irritating but can be a source of copious amounts of water wastage and higher bills. Finally, ever want to learn how to fix a bathtub faucet leaking then you are at the right place as it helps you in terms of money and water damage. This detailed and helpful guide translates the repair process into easily understandable steps making it easier for you to tackle the problem squarely.
Why does my bathtub faucet leak?
To help you avoid much trouble as you embark on fixing leakages in your bathtub faucet, learning about some of the things that cause this would be wise to consult.
- Worn-out Washers: With time, the washer that is found within the faucet may wear out or become damaged.
- Damaged Cartridge: If your faucet leverages a cartridge system, then wear and tear are likely to bring leakage.
- Corroded Valve Seat: Mineral contents are known to cause corrosion of the overall valve seat and cause dripping.
- Loose Parts: Eventually nuts, screws, or seals can become loose and create a leakage problem.
Tools You’ll Need
To fix a leaky bathtub faucet effectively, gather the following tools:
- Nutrients
- Bolts (Flat and Pozi)
- Screws (Phillips and flat)
- Contingent repair (washers, cartridges, or O-rings)
- Screw drive (Any flat head screw that is less than ¼” in thickness)
- A bucket or a towel to hold the water
How to Stop a Bathtub Faucet from Leaking: A Guide

1. Turn Off the Water Supply
The first and probably the most important procedure is the turn off the water supply. Find the stopcock for the bathroom, or the main water supply and close it, in order to stop any more water from entering the bathroom. Twist the faucets in a clockwise direction to stop the water and then operate the faucet in an anticlockwise direction to let off the residual water.
2. Remove the Faucet Handle
Remove the faucet handle by turning a flathead or Phillips screwdriver counterclockwise. If your faucet has a pretty end piece, delicately unscrew this with a flathead screwdriver to get at the screw. Screws and other parts should not be lost therefore they should be kept in a compartment where they will not be misplaced.
3. Inspect the Handle and Stem
When the handle is removed attempt to note any noticeable wear and tear. Although some simple antics can be done by the owner, such as cleaning up the stem or the cartridge, you might require the services of a professional if it looks rusty. Older faucets can mean that a washer is worn and that is why the faucet is leaking.
4. Take out or pull out the Cartridge or Stem
Turn the nut with an adjustable wrench and pull out the stem or cartridge and its nut. I would recommend that they should especially check it for the crack lines, rust formation, or generally any wear on the tool. Replace it if necessary.
5. Replace Worn Parts
If the washer, O-ring, or cartridge is in any way questionable appearing, it should be replaced. For washers make sure the replacement part is of the right size and shape as the original one. For new washers and O-rings apply the plumber’s grease and then fit within the recommended length.
6. Reassemble the Faucet
In this case reinsert the stem or cartridge, the retaining nut will then be used to lock it into position. screw the handle in position back on the faucet and tighten the screws if any. So when you are using Life Touch and need to hold the handle, make sure that it does not shake, or feel like it is loose, and then align it properly.
7. Test the Faucet
Switch on the water supply and perform a leak test on the building you’re in. If the problem remains with the faucet dripping, then spend quality time refocusing some of the sections and set the same in place. There may be leakage that will constantly go on, and, such a problem may call for professional help.
Pro Tips for Preventing Faucet Leaks
- Regular Maintenance: Look at your faucet parts annually and if there is some wear and tear or deteriorated parts then replace them.
- Avoid Over-Tightening: Turning your faucet off requires varying the force applied during the movement to enhance the durability of the washers.
- Water Softener: Replace commonly used plumbing fixtures with low-flow showerheads and faucets that will reduce both water heating bills and mineral deposit formation.
When to Call a Plumber
If the leak still goes on notwithstanding your repair work or if you find your faucet poorly constructed, then you should call a professional plumber. Experts can identify sophisticated problems and cease the development of other complications.
Conclusion
Leaking a bathtub faucet does not have to be a mystery to you because the following are the simple steps to follow in order to repair it. That is why I have shared some practical tips on how most homeowners can fix this problem themselves using just the right tools and a bit of time. Stopping leaks promptly helps save water because water that has leaked will pollute the ground, and reduce electricity bills and any damage which may be caused to our properties as a result of the water. However, if you strictly adhere to the guide in the following steps; you will never go wrong fixing your bathtub faucet.
Frequently Asked Questions:
Q1: How can you tell whether your faucet washer is due for replacement?
A: If your faucet leaks as soon as you twist the knob off, then chalking it to a faulty washer is reasonable.
Q2: How can I repair a leaky faucet without stopping the water?
A: No, cutting off the water supply is necessary in order that there will be no water leak during repairs.
Q3: When should I check on my bathtub faucet to see if it is leaking?
A: Regular annual inspections of your faucet prevent small problems from becoming bigger as time goes by.