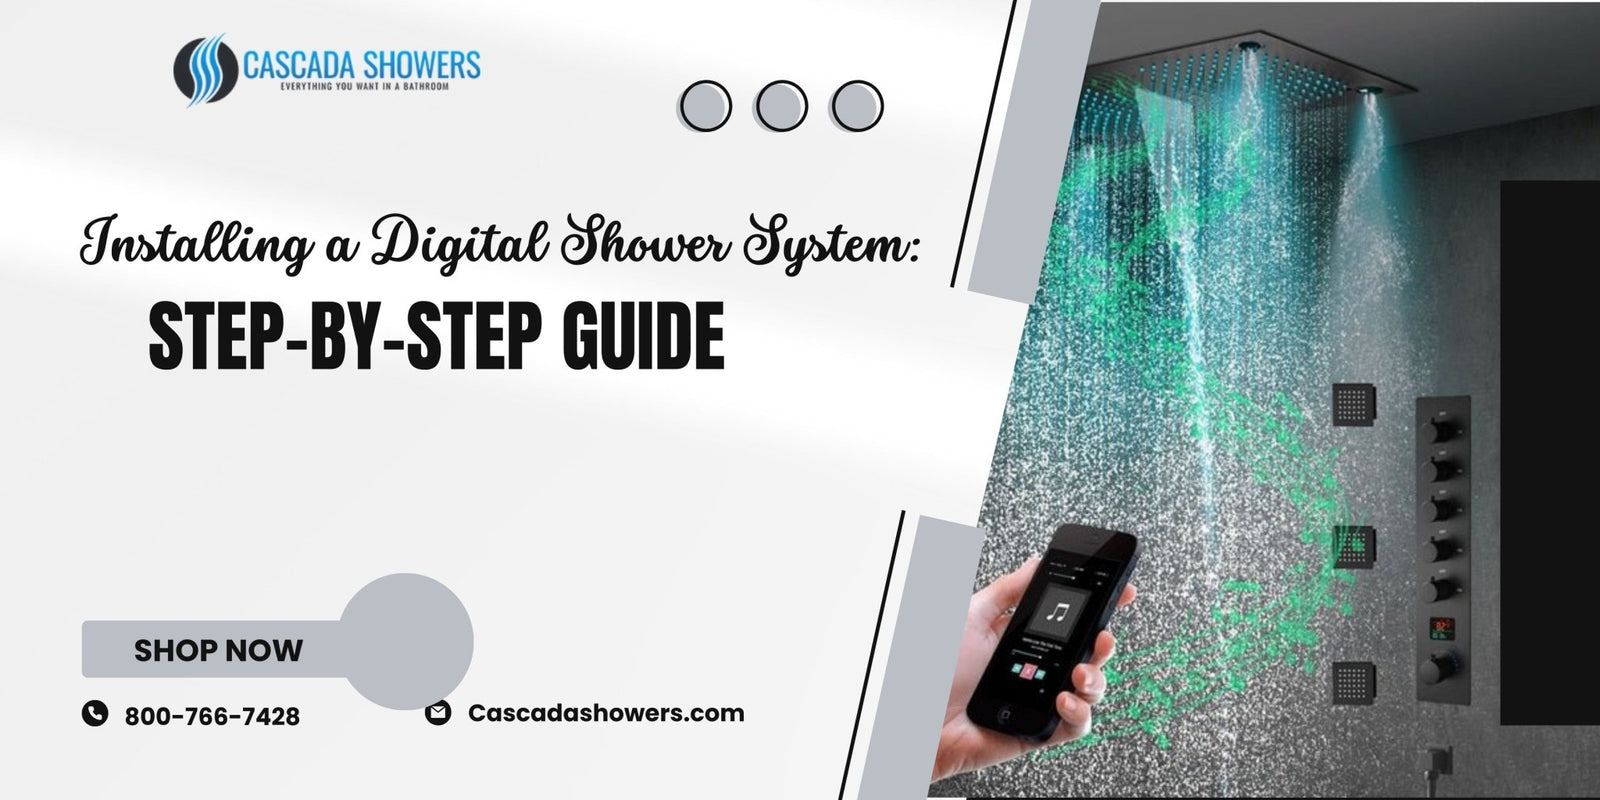
Digital shower systems are now the preferred choice for homeowners who feel that they need better control, ease, and comfort in their bathrooms. Whether you’re renovating, building a new bathroom, or simply wanting to upgrade your everyday life, a digital shower system can be the perfect way to achieve that.
Why Choose a Digital Shower System?
User-friendly controls and compatibility with smart homes, combined with their capacity to control temperature precisely make digital showering systems fit for many purposes. Digital shower systems are great for the immobile, those whose homes have specific shower preferences, and any individual who wants to conserve water and energy.

Benefits Include:
-
Precise temperature control
-
Programmable presets for multiple users
- Water-saving features
Operation can be controlled remotely either through an app or a wireless remote.
Tools & Materials You’ll Need
Having all the proper tools prepared before installing a digital shower system is important. Never be unprepared when it comes to tools for the process; it will help streamline and secure everything.
Tools Checklist:
-
Adjustable wrench
-
Pipe cutter
-
Screwdriver set
-
Waterproof silicone sealant
-
Power drill
-
Voltage tester
-
Level
- Measuring tape
Don’t forget to request your digital shower valve unit, controller panel, and LED Shower Head (as it relates to the specific model you’re using).
Step-by-Step Guide to Installing a Digital Shower System
In this case, we’ll make its installation tacit by employing a step-by-step explanation. While plumbing and electrical connections should best be done by a professional, our guide is to give you a detailed view of how one goes about installing.
Step 1: Turn Off the Water Supply
Remember to close the main water valve before proceeding. Failure to shut off the water supply might cause flooding or breakage of the pipes.
Before you begin, scan the system with a voltage tester for electrical current, especially if you're upgrading an old installation.
Step 2: Remove the Existing Shower
Be careful to remove the current showerhead, valve, and control unit, as required. When necessary, break apart the links using a pipe cutter or wrench.
Clear the walls of debris and old sealant to make sure that the installation fits without problems. Prior to the new system installation ensure to complete any wall re-tile or update job.
Step 3: Mount the Digital Valve Unit
The central purpose of your system is found in the digital valve unit. Here, the system digitally mixes and regulates the temperature of water.
-
Install it behind or next to the shower in any of the spots it recommends, using the instructions that come with the model.
-
Place it before attaching with the brackets and screws provided.
-
In case of fitting available, use it to connect hot and cold water supply inlets and outlet pipes to the inlet valve.
Step 4: Connect the Electrical Supply
If you don’t know about electric wiring, the safest way is to ask experts to provide you help. In the event that you lack relevant experience, seek contact with a licensed electrician for help.
-
Install the system on a specific electrical circuit.
-
De-energize the electrical supply and install the system before.
- Use waterproof cable connectors.
Step 5: Install the Controller Panel
The controller panel is the panel that you use to adjust your settings. This controller panel functions with touch controls, can be accessed from various distances, or through cell phone apps.
-
Encircle the shower at which you can comfortably communicate with the controller.
-
Drill punching holes in the wall at the places where you intend to install the mounting bracket.
- Install the controller of your choice at the selected location, and connect the low-voltage cable going from the valve unit.
Step 6: Connect the Showerhead and Accessories
Connect a digital showerhead, body jets, or hand shower, depending on the need.
-
Wrap threaded joints with a Teflon tape.
- Do a coat of waterproof silicone sealer over the wall openings.
Ensure each fixture is level and secured in place.
Ensure there are no leaks before you are done with the last panels or walls.
Step 7: Power On and Test
Once everything is connected:
-
Open the main water supply to let water through to the shower.
-
Power the digital system
- Perform an exhaustive temperature, pressure, and overall responsiveness of the system test.
Adjust any of your settings through the controller or the app.
Frequently Asked Questions (FAQ)
Q1. Can I arrange to install a digital shower room by myself?
Sure, as long as you can cope with plumbing and electrical work. Nevertheless, electrical components must always be installed by a trained professional.
Q2. Are digital showers safe?
Absolutely. Digital showers come equipped with high-end safety functions such as temperature controls and self-maintained cut-off functions. Make sure the installation is in line with all the local regulations of building regulations.
Q3. Can small water pressure problems influence the working of a digital shower system?
Most digital showers can operate effectively with as little as 1.0 bar of water pressure, but they should be double-checked with your supplier against the manufacturer's specifications.
Conclusion
Although a digital shower system is projected with luxury, its actual value is in its convenience, efficiency, and ease of control of your routine. With enough tools and compliance with these steps, you can finish a shower upgrade in as little as a day or two.
Taking with a full bath redesign or a simple showerhead change into consideration, a digital shower system can greatly improve your comfort. Follow the steps set here, be well prepared, and feel free to hire a specialist if necessary.

